1. Create a Logto Application
- Log in to your Logto account.
- Create a new application for your ShadcnKit project.
- Note down the following credentials:
- App ID
- App Secret
- Logto Endpoint
2. Configure Environment Variables
Add the following to your.env file:
your_app_id, your_app_secret, your_cookie_secret, and your_logto_signing_key with your actual values.
3. Create Admin User
- Go to the User Management section in your Logto dashboard.
- Create a new user “to be the admin”.
- Note down the user ID of this user.
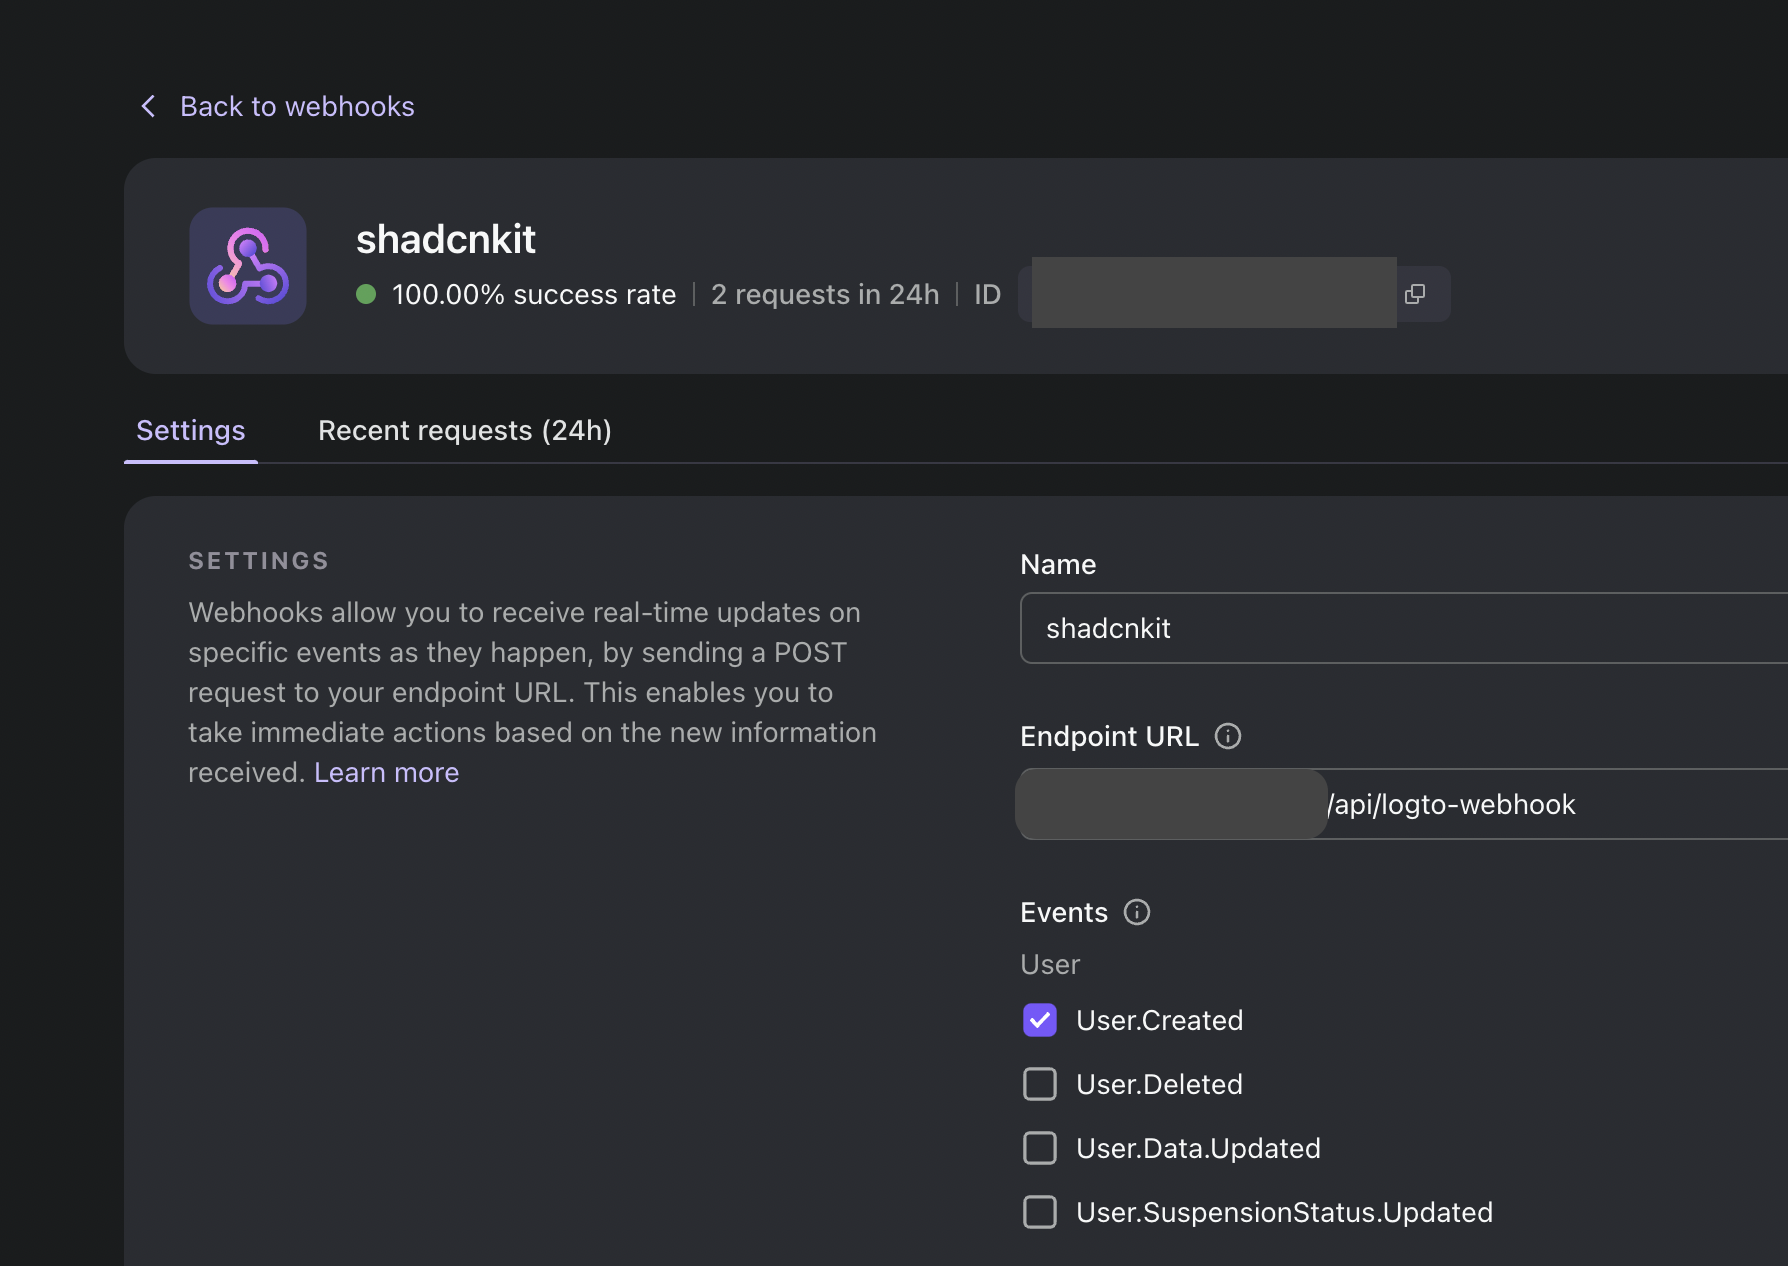
4. Set Up Logto Webhook
To automatically save user data in your D1 database when a new user is created, you need to set up a webhook in Logto:- In your Logto dashboard, go to “Webhooks” and click “Create webhook”.
- Set the following details:
- Name:
my awsome app - Endpoint URL:
https://yourdomain.com/api/logto-webhook - Events: Check the “User.Created” event
- Name:
- After creating the webhook, copy the Signing Key provided by Logto.
- Add the Signing Key to your
.envfile asLOGTO_SIGNING_KEY.

5. Implement Webhook Handler
ShadcnKit includes a pre-configured webhook handler that listens for the “User.Created” event and saves the user data to your D1 database. You don’t need to modify this unless you want to customize the behavior. The webhook handler is located atapp/api/logto-webhook/route.ts.
How Logto Authentication Works
Logto provides a secure, OAuth 2.0 compliant authentication flow:- User clicks “Sign In” in your app.
- They’re redirected to Logto’s login page.
- After successful login, they’re redirected back to your app with an authentication token.
- ShadcnKit uses this token to authenticate API requests.
- When a new user is created, Logto sends a webhook to your app, which then saves the user data in your D1 database.
Next Steps
ShadcnKit supports various OAuth providers through Logto, including Google, GitHub, and Facebook.Configure OAuth Providers
Learn how to add OAuth providers to your ShadcnKit application.

